 Theta Tau | UIUC
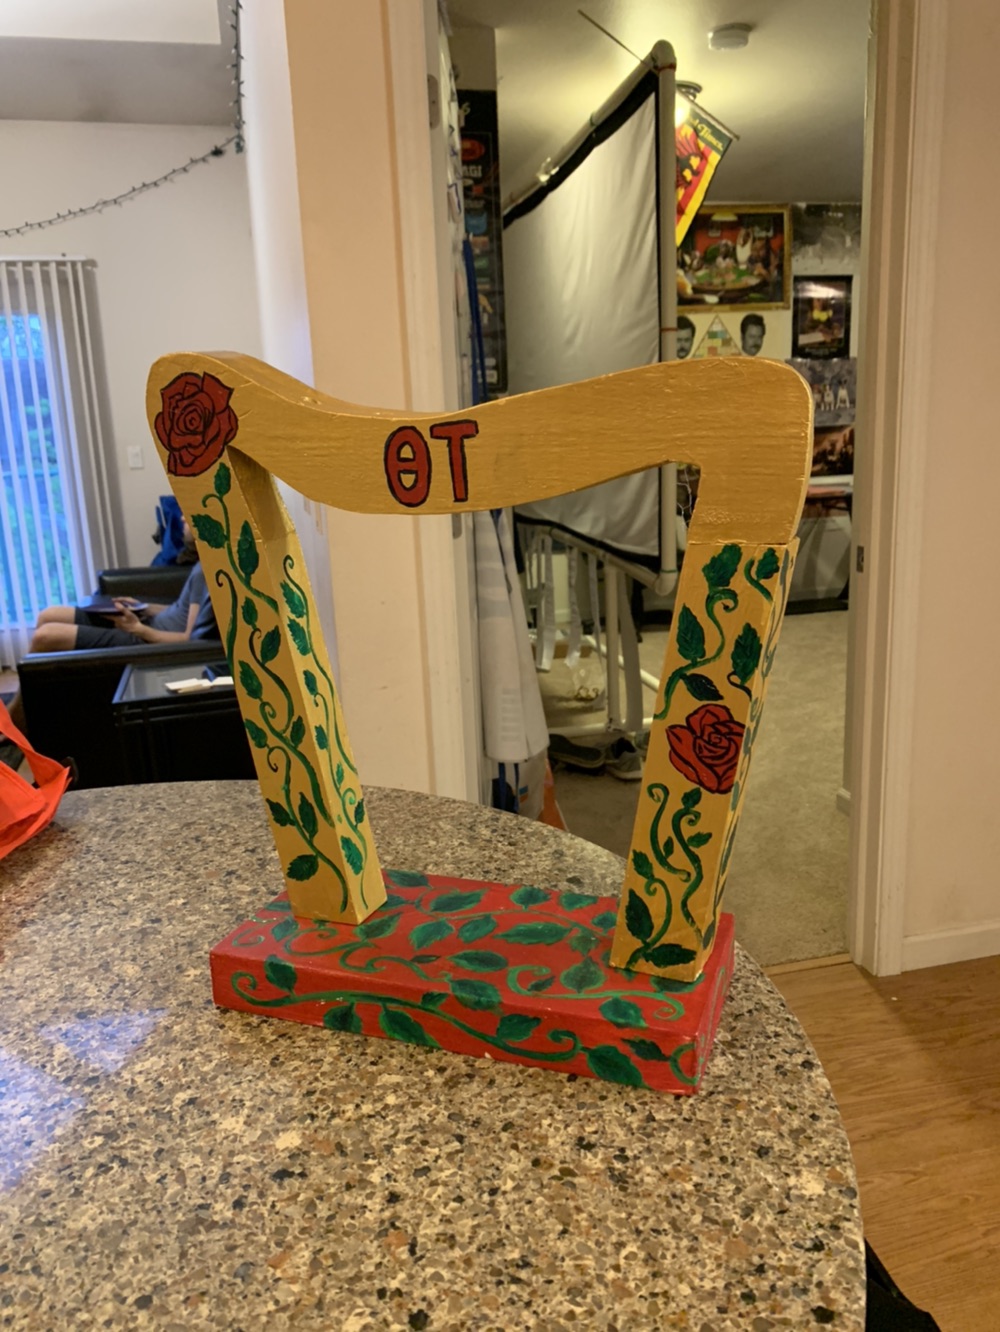
The Theta Tau Laser Harp
Abstract
The Theta Tau Laser Harp was a project designed and created by Kappa Chapter’s Projects Committee to display at this year’s Engineering Open House.
Objective
The objective of this project was to create a musical harp, with laser beams instead of strings. These laser beams, when interrupted, would cause the laser harp to make music, just like a regular harp.
With Engineering Open House coming up for the year, our goal was to create an interactive project to demonstrate engineering concepts to kids in a fun way. One of our later objectives is to be able to record the voices of children singing, and actually use their voices for the music that comes out of the harp by assigning each child’s voice to a different note.
Background
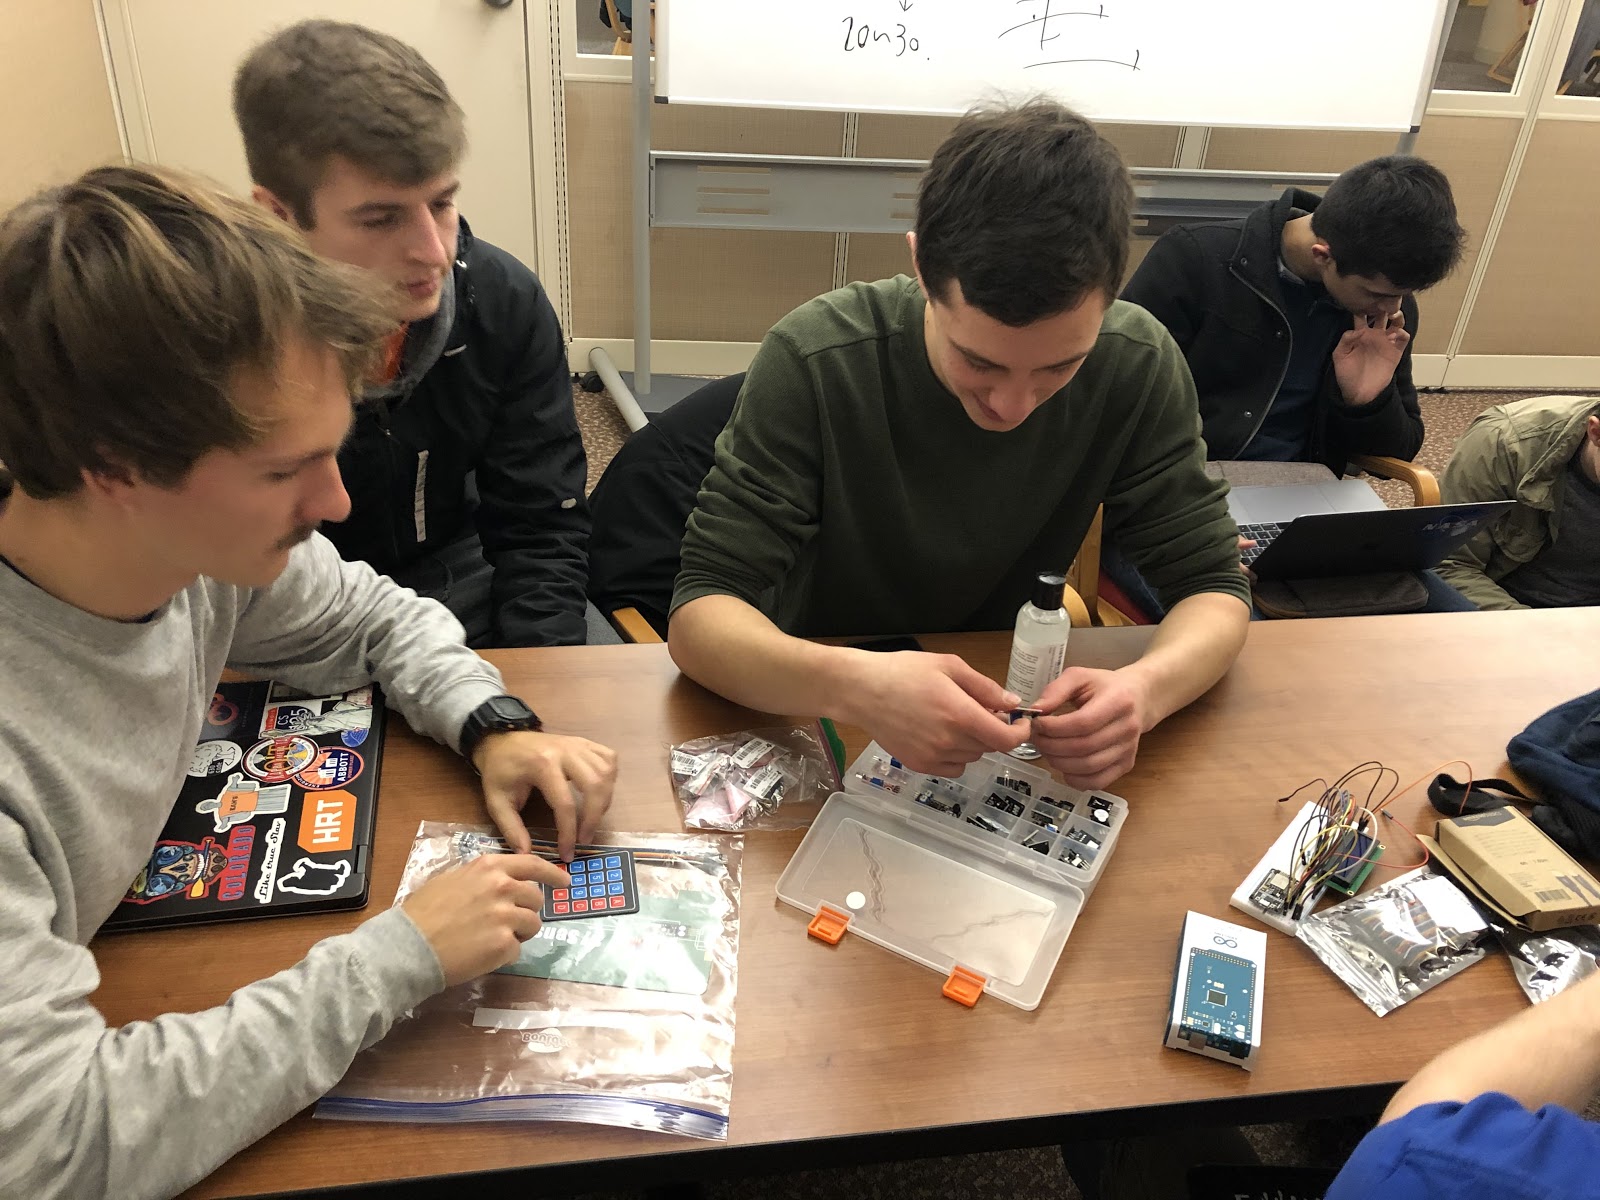
Many of us in the fraternity are musicians, this drove us towards a goal of combining our passion for engineering with our passion for music. Building a laser harp requires mechanical engineering, electrical engineering, computer science, and more. With Theta Tau Project Committee members coming from many different majors, this was a perfect project to combine our experiences inside the classroom towards a tangible project.
Design Overview
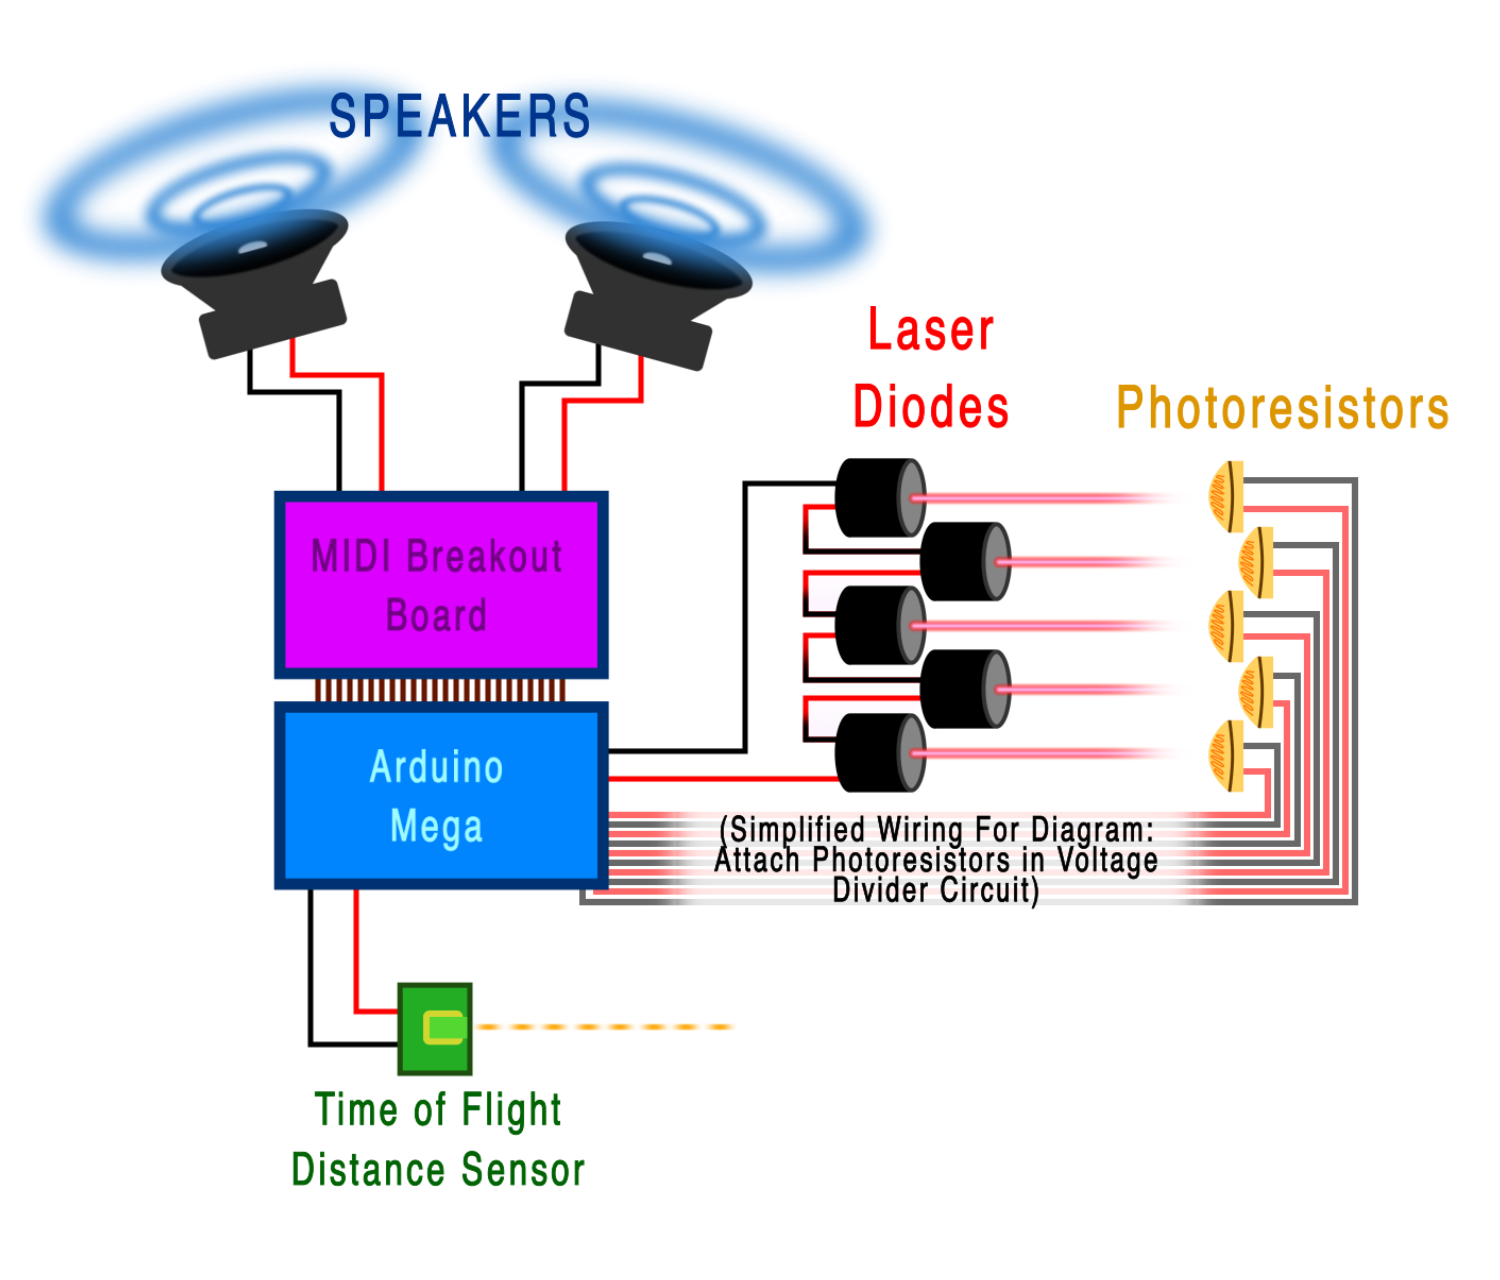
1) Diagram
2) Design Challenges
Choosing an interface for the lasers was tricky, as we wanted them to be sensitive to being “plucked” as well as visible. This led to a design choice of using a low power laser (<5 mW) along with a custom fog machine. The fog machine amplified the visibility of the lasers and the photoresistors were more than sensitive enough to pick up the change in light.
Component Descriptions
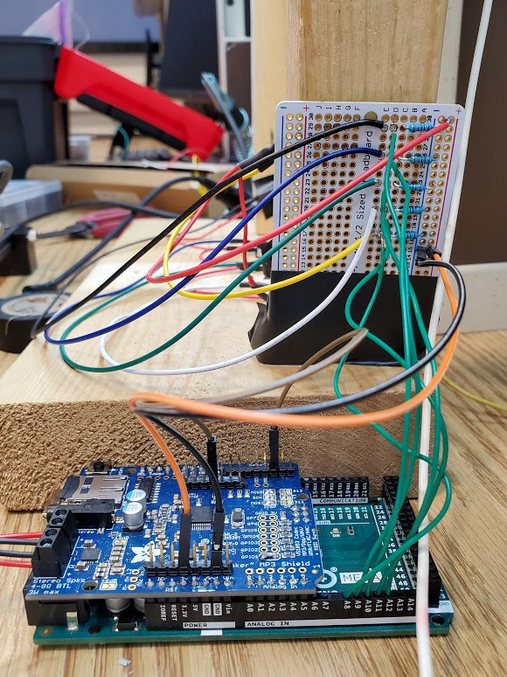
1) Microcontroller
We chose to use the Arduino Mega 2560 microcontroller due to its pre-existing libraries, many GPIO pins, and many functions. With 54 digital IO pins, 15 of them can support PWM output. That means that even though many of the pins were consumed by our breakout board, we could take advantage of the extra pins to receive analog input and control servo motors. The arduino also has 256 KB of flash RAM, which is enough to support our program as well as the libraries needed to interface with the breakout board.
2) MIDI (Musical Instrument Design Interface)
A MIDI sound is a protocol to output sounds from electronics such as arduinos. We chose to use a chip with this functionality due to its ease of use, as well as the built-in communication methods on the Arduino Mega. The Mega, like most arduinos, contains an SPI port, perfect for short range communication between it and the MIDI chip.
For the MIDI output creation, we used the Adafruit Music Maker. It has over 200 pre-loaded midi sounds, an SD card slot for loading songs, and a 3W Stereo output for two speakers. This provided us with a sleek connection between the arduino, breakout board, and the rest of the harp. You can view our code here.
3) Laser Diode
A laser diode is a device that emits light by stimulated emission of radiation, using applied positive voltage and mirrored diode edges. When looking for a laser diode for the laser harp project, we wanted to make sure it was safe to use around kids, economically efficient, and reliable. We decided on Adafruit’s 5mW 650 Red Laser Diode as it is the most economically efficient and reliable for what we are trying to do. This laser is only $6 a piece, with a higher internal refraction and more consistent output than other options along with still being safe for eyes.
4) Time of Flight Sensor
Out of the many choices of sensors to measure distance there are, our choice was to use Time of Flight sensors to avoid other sensor problems. We chose Adafruit’s VL53L0X Time of Flight Distance sensor, because unlike IR distance sensors that try to measure the amount of light bounced, the VL53 is much more precise and doesn’t have linearity problems or ‘double imaging’ where you can’t tell if an object is very far or very close. Along with its simplicity the VL53 has impeccable range that would extend the whole distance of our proposed harp. Adafruit is also very well known for integrating well with several different types of microcontrollers while even providing a library for arduino.
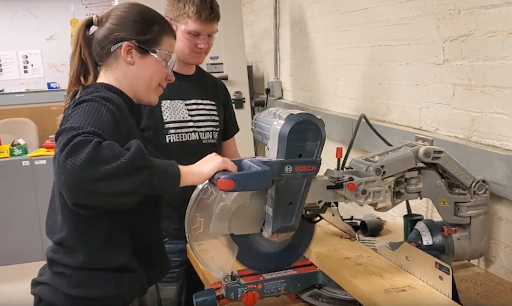
5) Frame
The frame is designed to resemble that of an actual harp, while maintaining a small size for ease of handling, as well as having less space to fill with fog to make the lasers visible. Similar to a stringed harp, the frame is made of wood because it is inexpensive and easy to form into shape. The pieces are held together with wood glue and painted for a decorative touch. A drill press was used to create holes in the curved top of the harp for the lasers to reside with a snug fit.
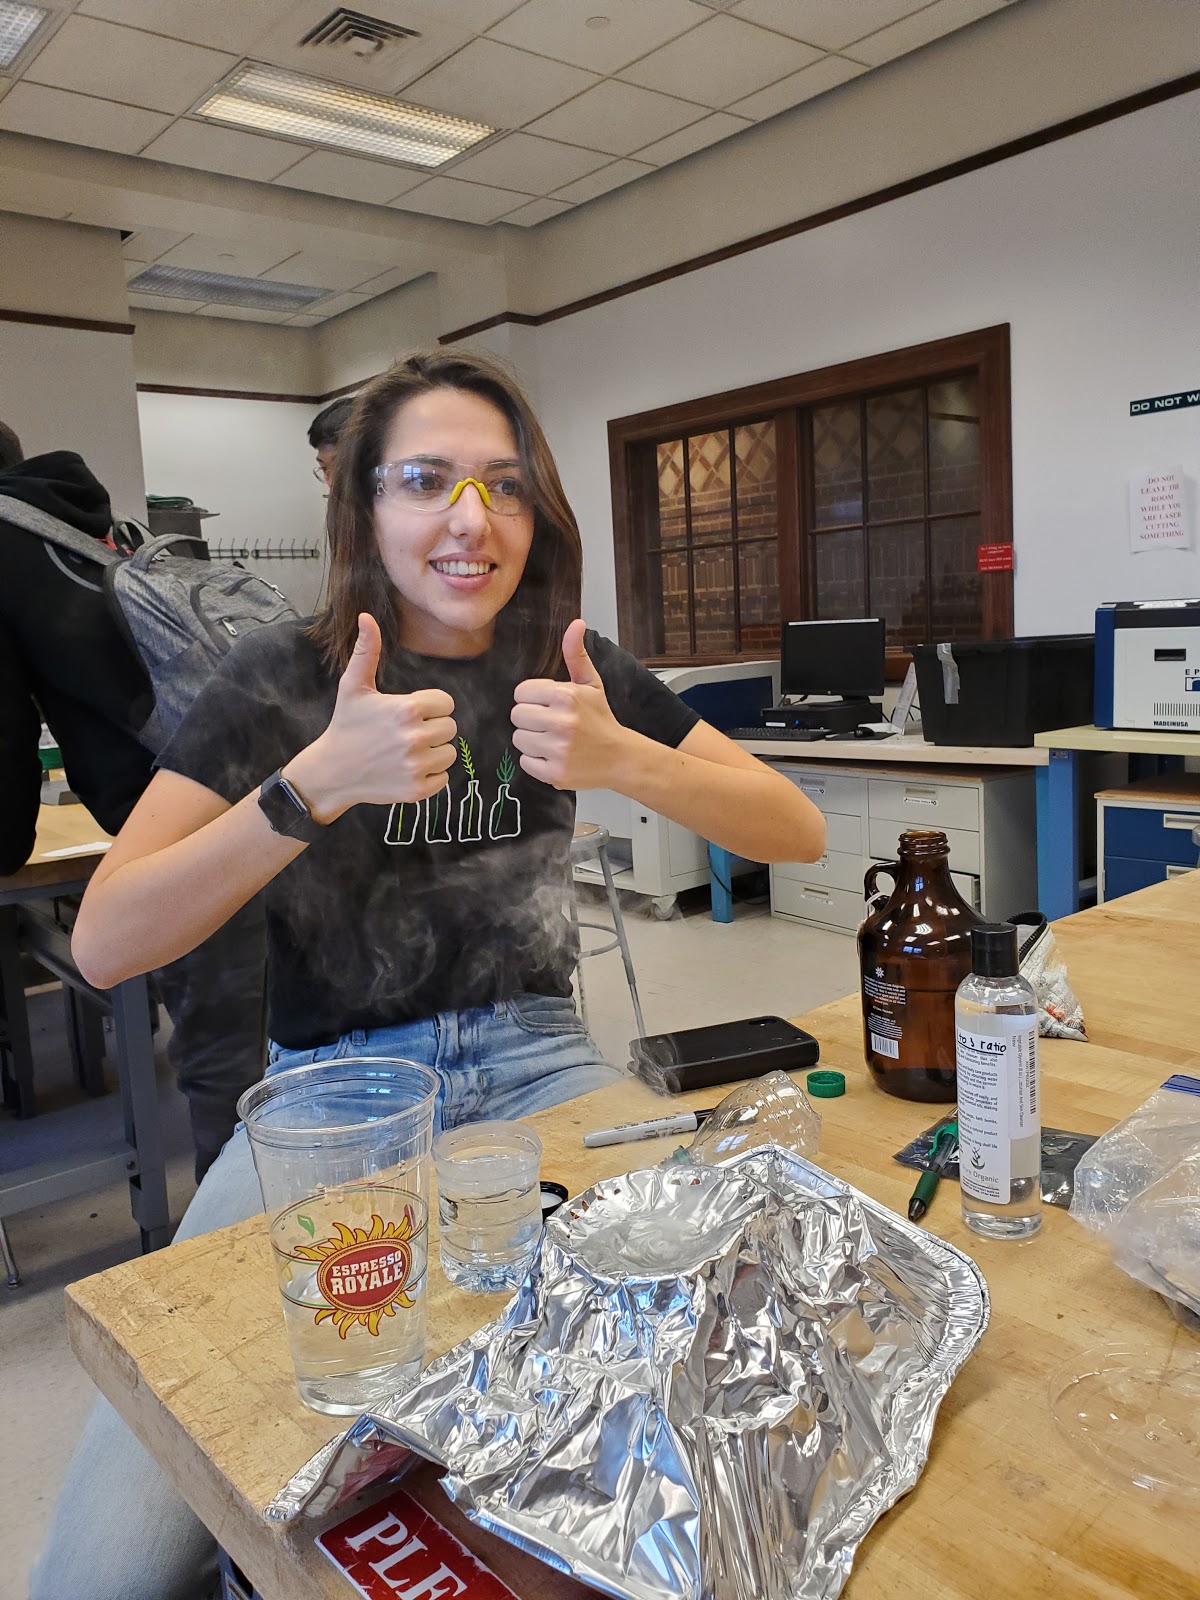
6) Vapor System

Instead of renting out a fog machine, we decided to build one ourselves. All we needed was two ingredients: glycerol and water. We mixed the two together in a 1:3 ratio (1 part glycerin to 3 parts water), and dripped it onto an aluminum plate heated up by a candle. At first, we only added a few drops of the mixture to play around with the ratios. The produced smoke is safe to be around and makes it possible to see the lasers.
Guitar Hero Addition
In the future we hope to make use of 5 servo motors and a keyboard to incorporate the popular game “CloneHero” (A guitar hero alternative for PC’s). The goal is to output a Pulse Width Modulation signal from the arduino everytime a string on the harp is plucked. This would activate a servo motor that plays a note on a keyboard, allowing the user to play guitar hero with the laser harp.
We have 3D printed the mounts for the servos on the keyboard. The next step is assembly, wiring up all of the servo motors to an output on the arduino.
2019-2020 Projects Committee Team
Joe Lopez , Adam Clemmit , Arushi Agarwal , Josh Wrobel , Julia Krause , Kamil Nocon , Kristen Whalen , Marilyn Sedlak , Nic Sharpman , Niki Shah , Peter Hevrdejs , Rafal Czech , Ryan Muehlfelder , Vica Otrubina , Zakir U.